Engagement
Surveys
provide a baseline rooted in people science that measures your employees’ level of engagement.

Pulse
Surveys
allow you to deploy real-time, quick-to-action, surveys on topical areas that can drive data backed decisions.

Experience
Surveys
measure the moments that matter & will help you listen to your people from their first to their last day at the company.
Culture Model
We have identified six culture categories that are crucial for understanding not only an employee's engagement with
their current position but dedication to longer-term goals and objectives.


What It Means To Be Heard
Listening to employee feedback has never been more important.
The data shows that - America has an employee engagement problem.
Following consistent growth, employee engagement in the United States experienced its first decrease in a decade, falling from 36% of engaged employees in 2020 to 34% in 2021.
This trend continued into 2022, with 32% of employees feeling engaged, while 18% reported feeling actively disengaged. Additionally, active disengagement has risen four points since 2020.
The Pillars of Employee Listening
Listening is only the beginning.
Effective listening strategies require benchmarking through engagement analytics. Be Heard delivers employee listening channels and dashboards that provide key insights and action that strengthen employee engagement.
Listen
The modern workplace requires companies to monitor engagement frequently as part of a broader employee listening strategy.
Measure
Leverage our science-backed engagement model, your own custom factors or a hybrid approach to get the best results for your organization.
Analyze
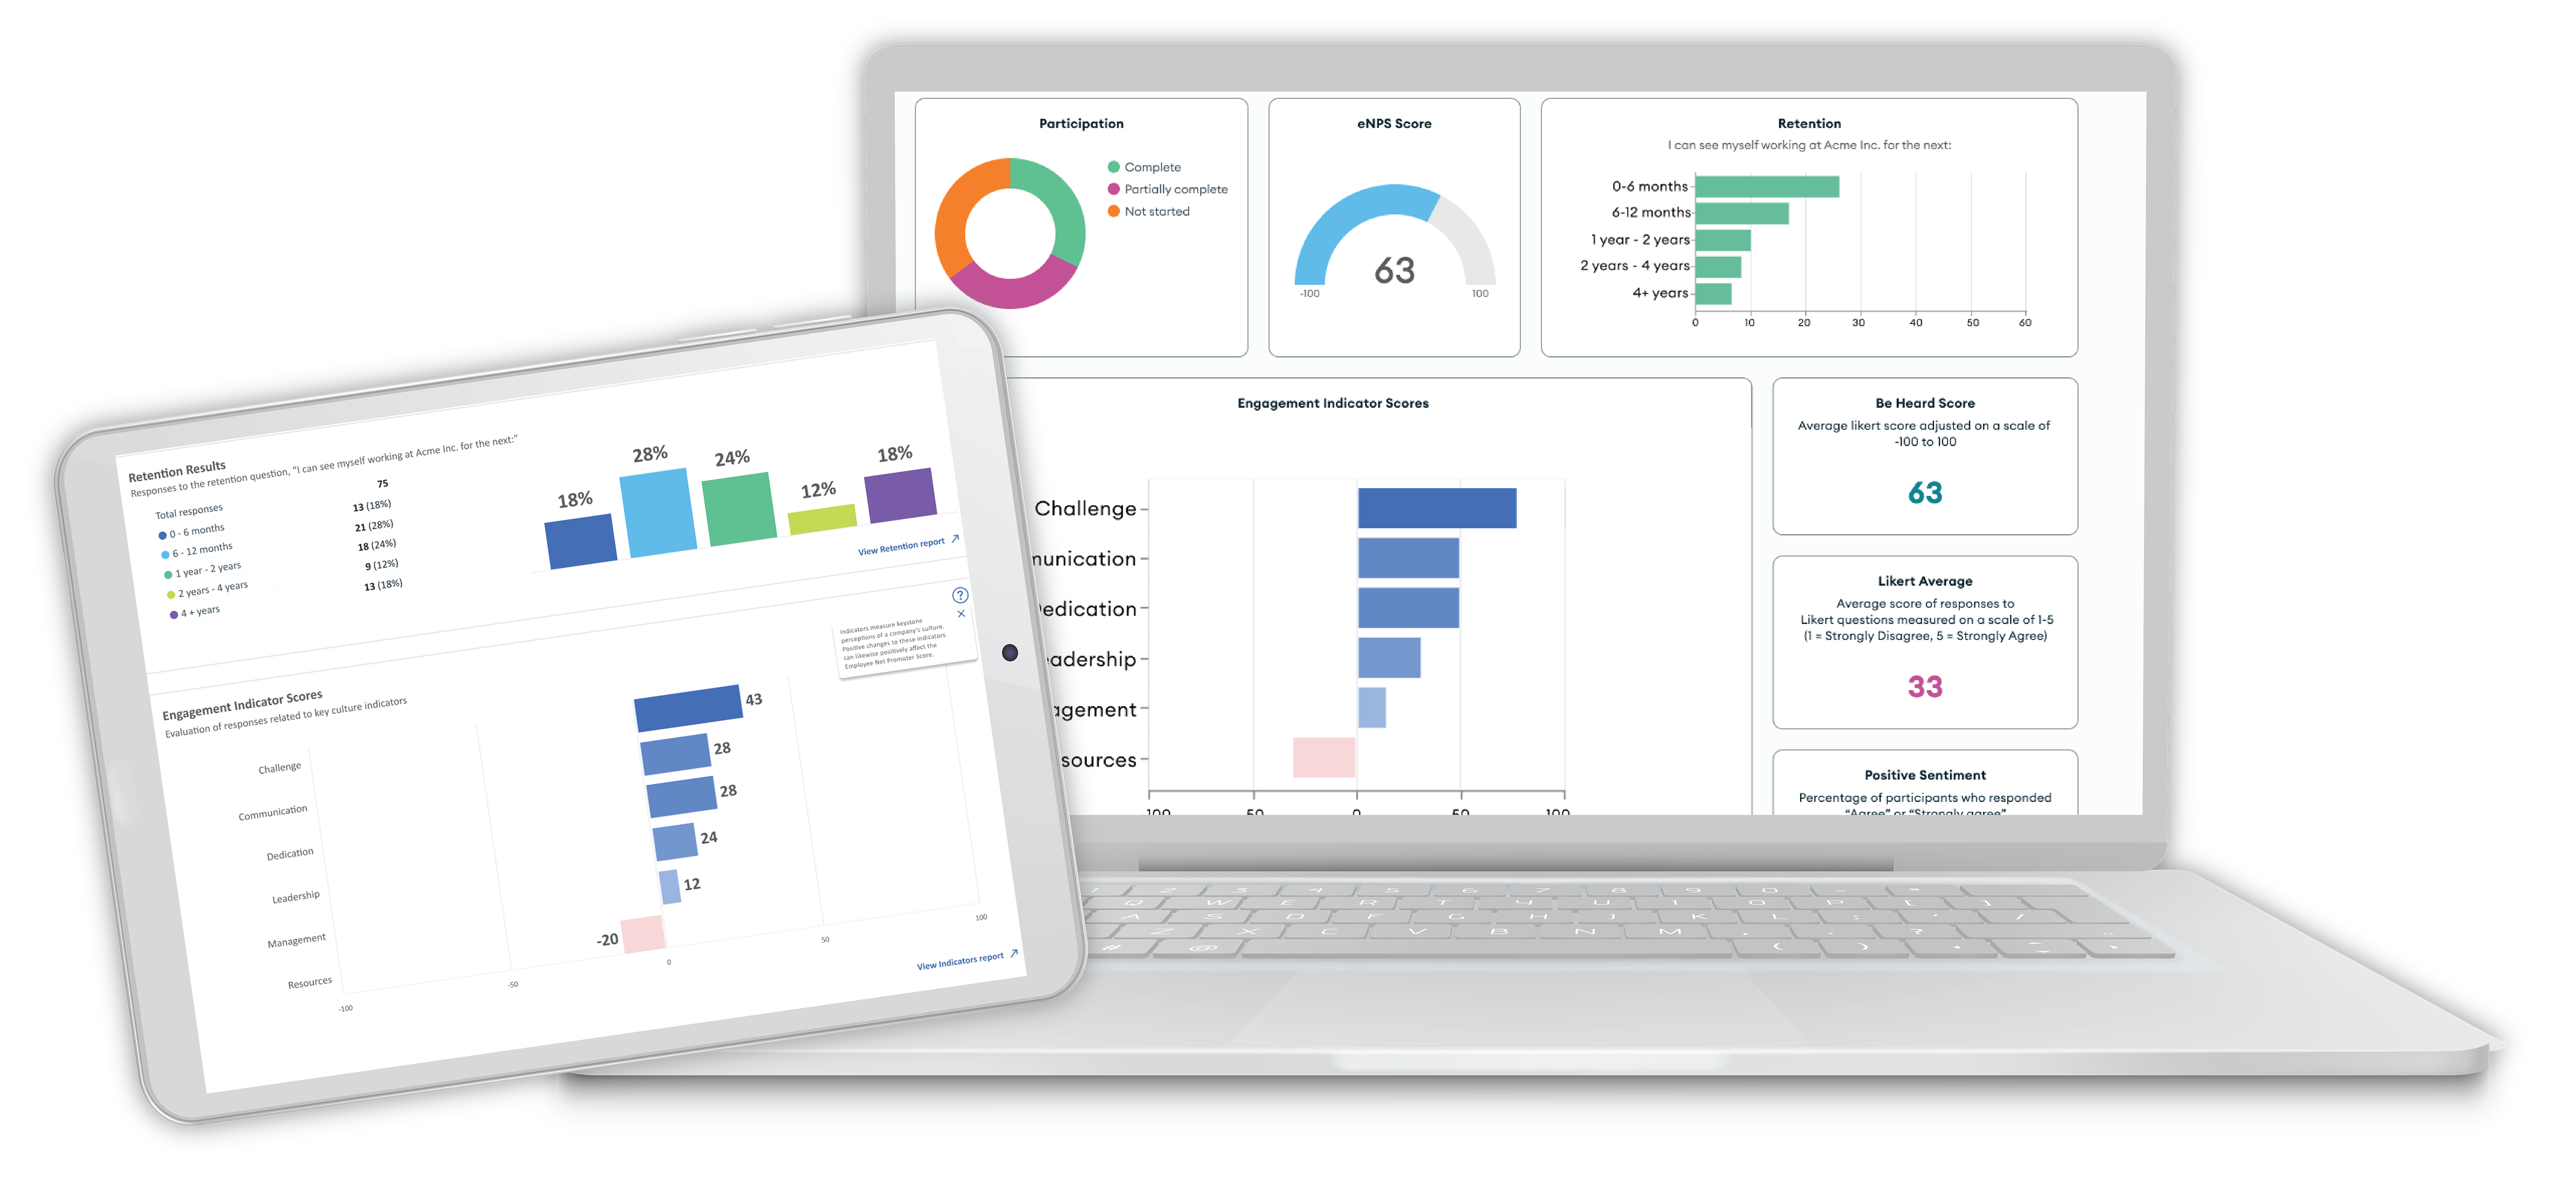
We provide hundreds of preconfigured visualizations with true analytics capabilities, reducing admin time for HR teams so you can focus on insights and action.


What Is The eNPS Score?
Be Heard is a product that supports an engagement philosophy:
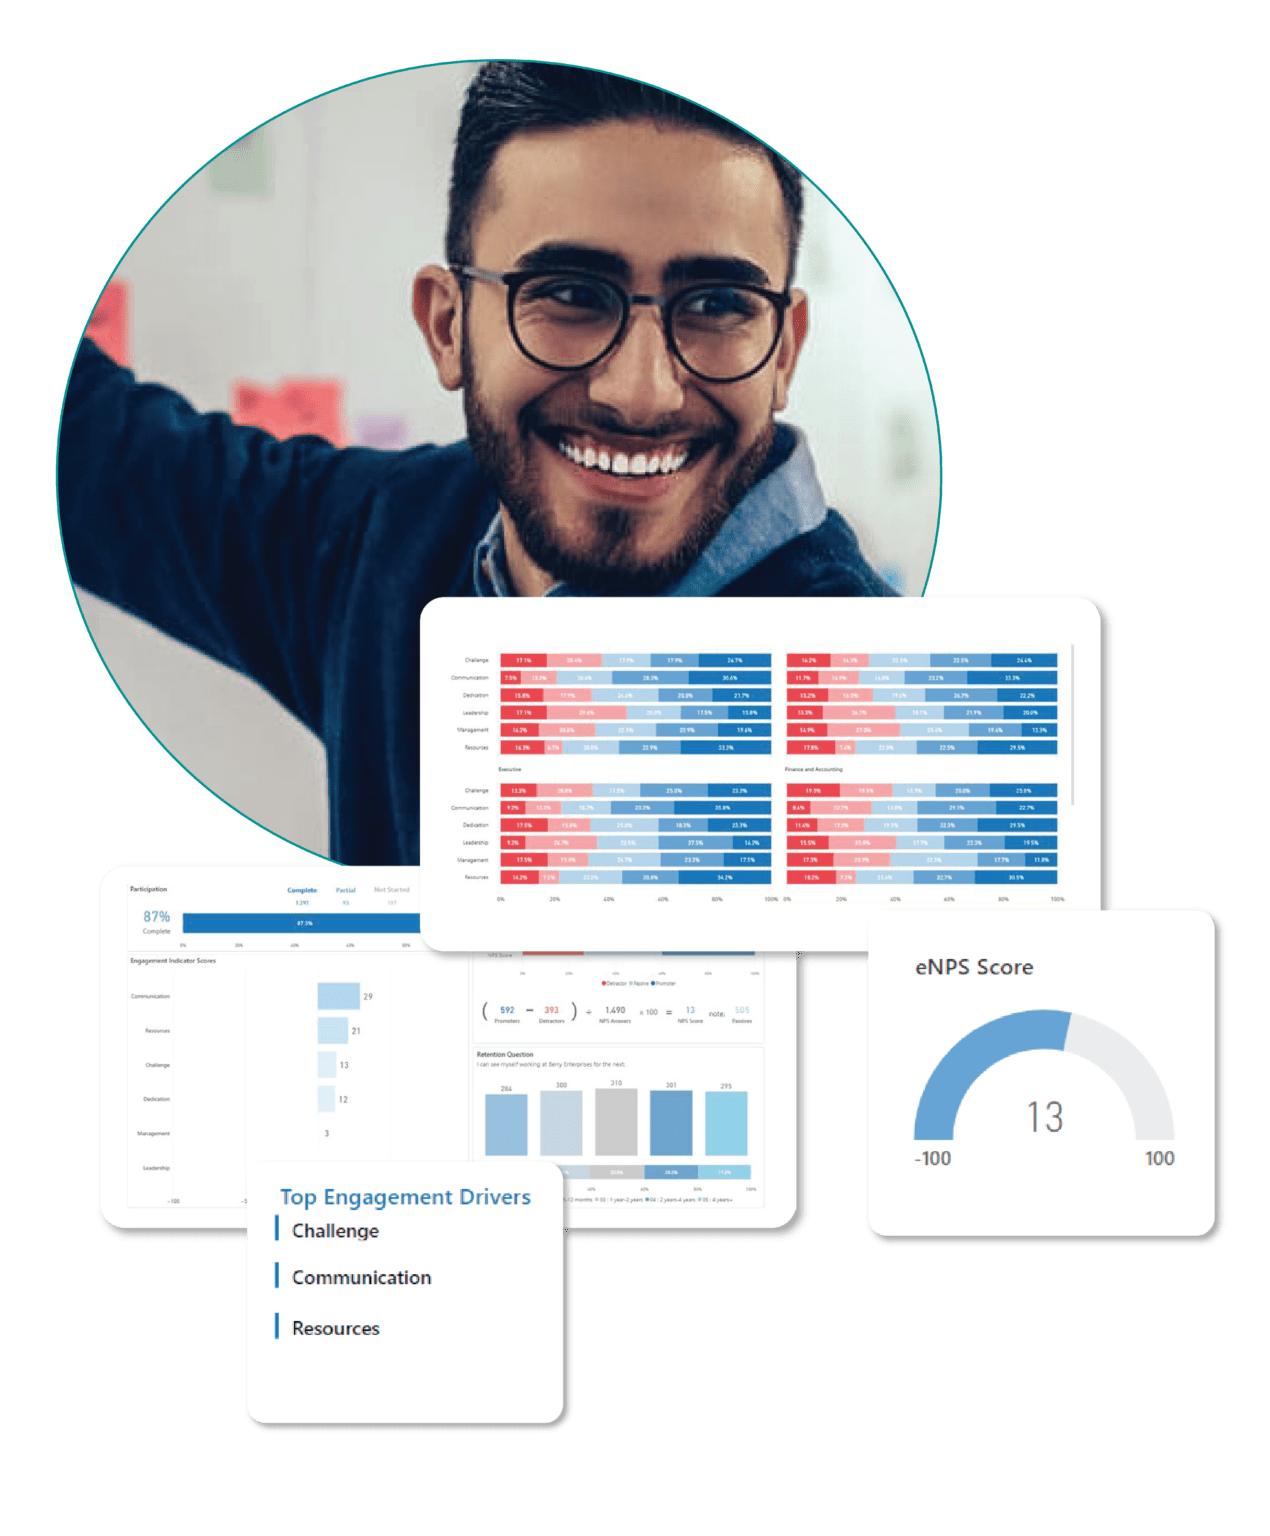
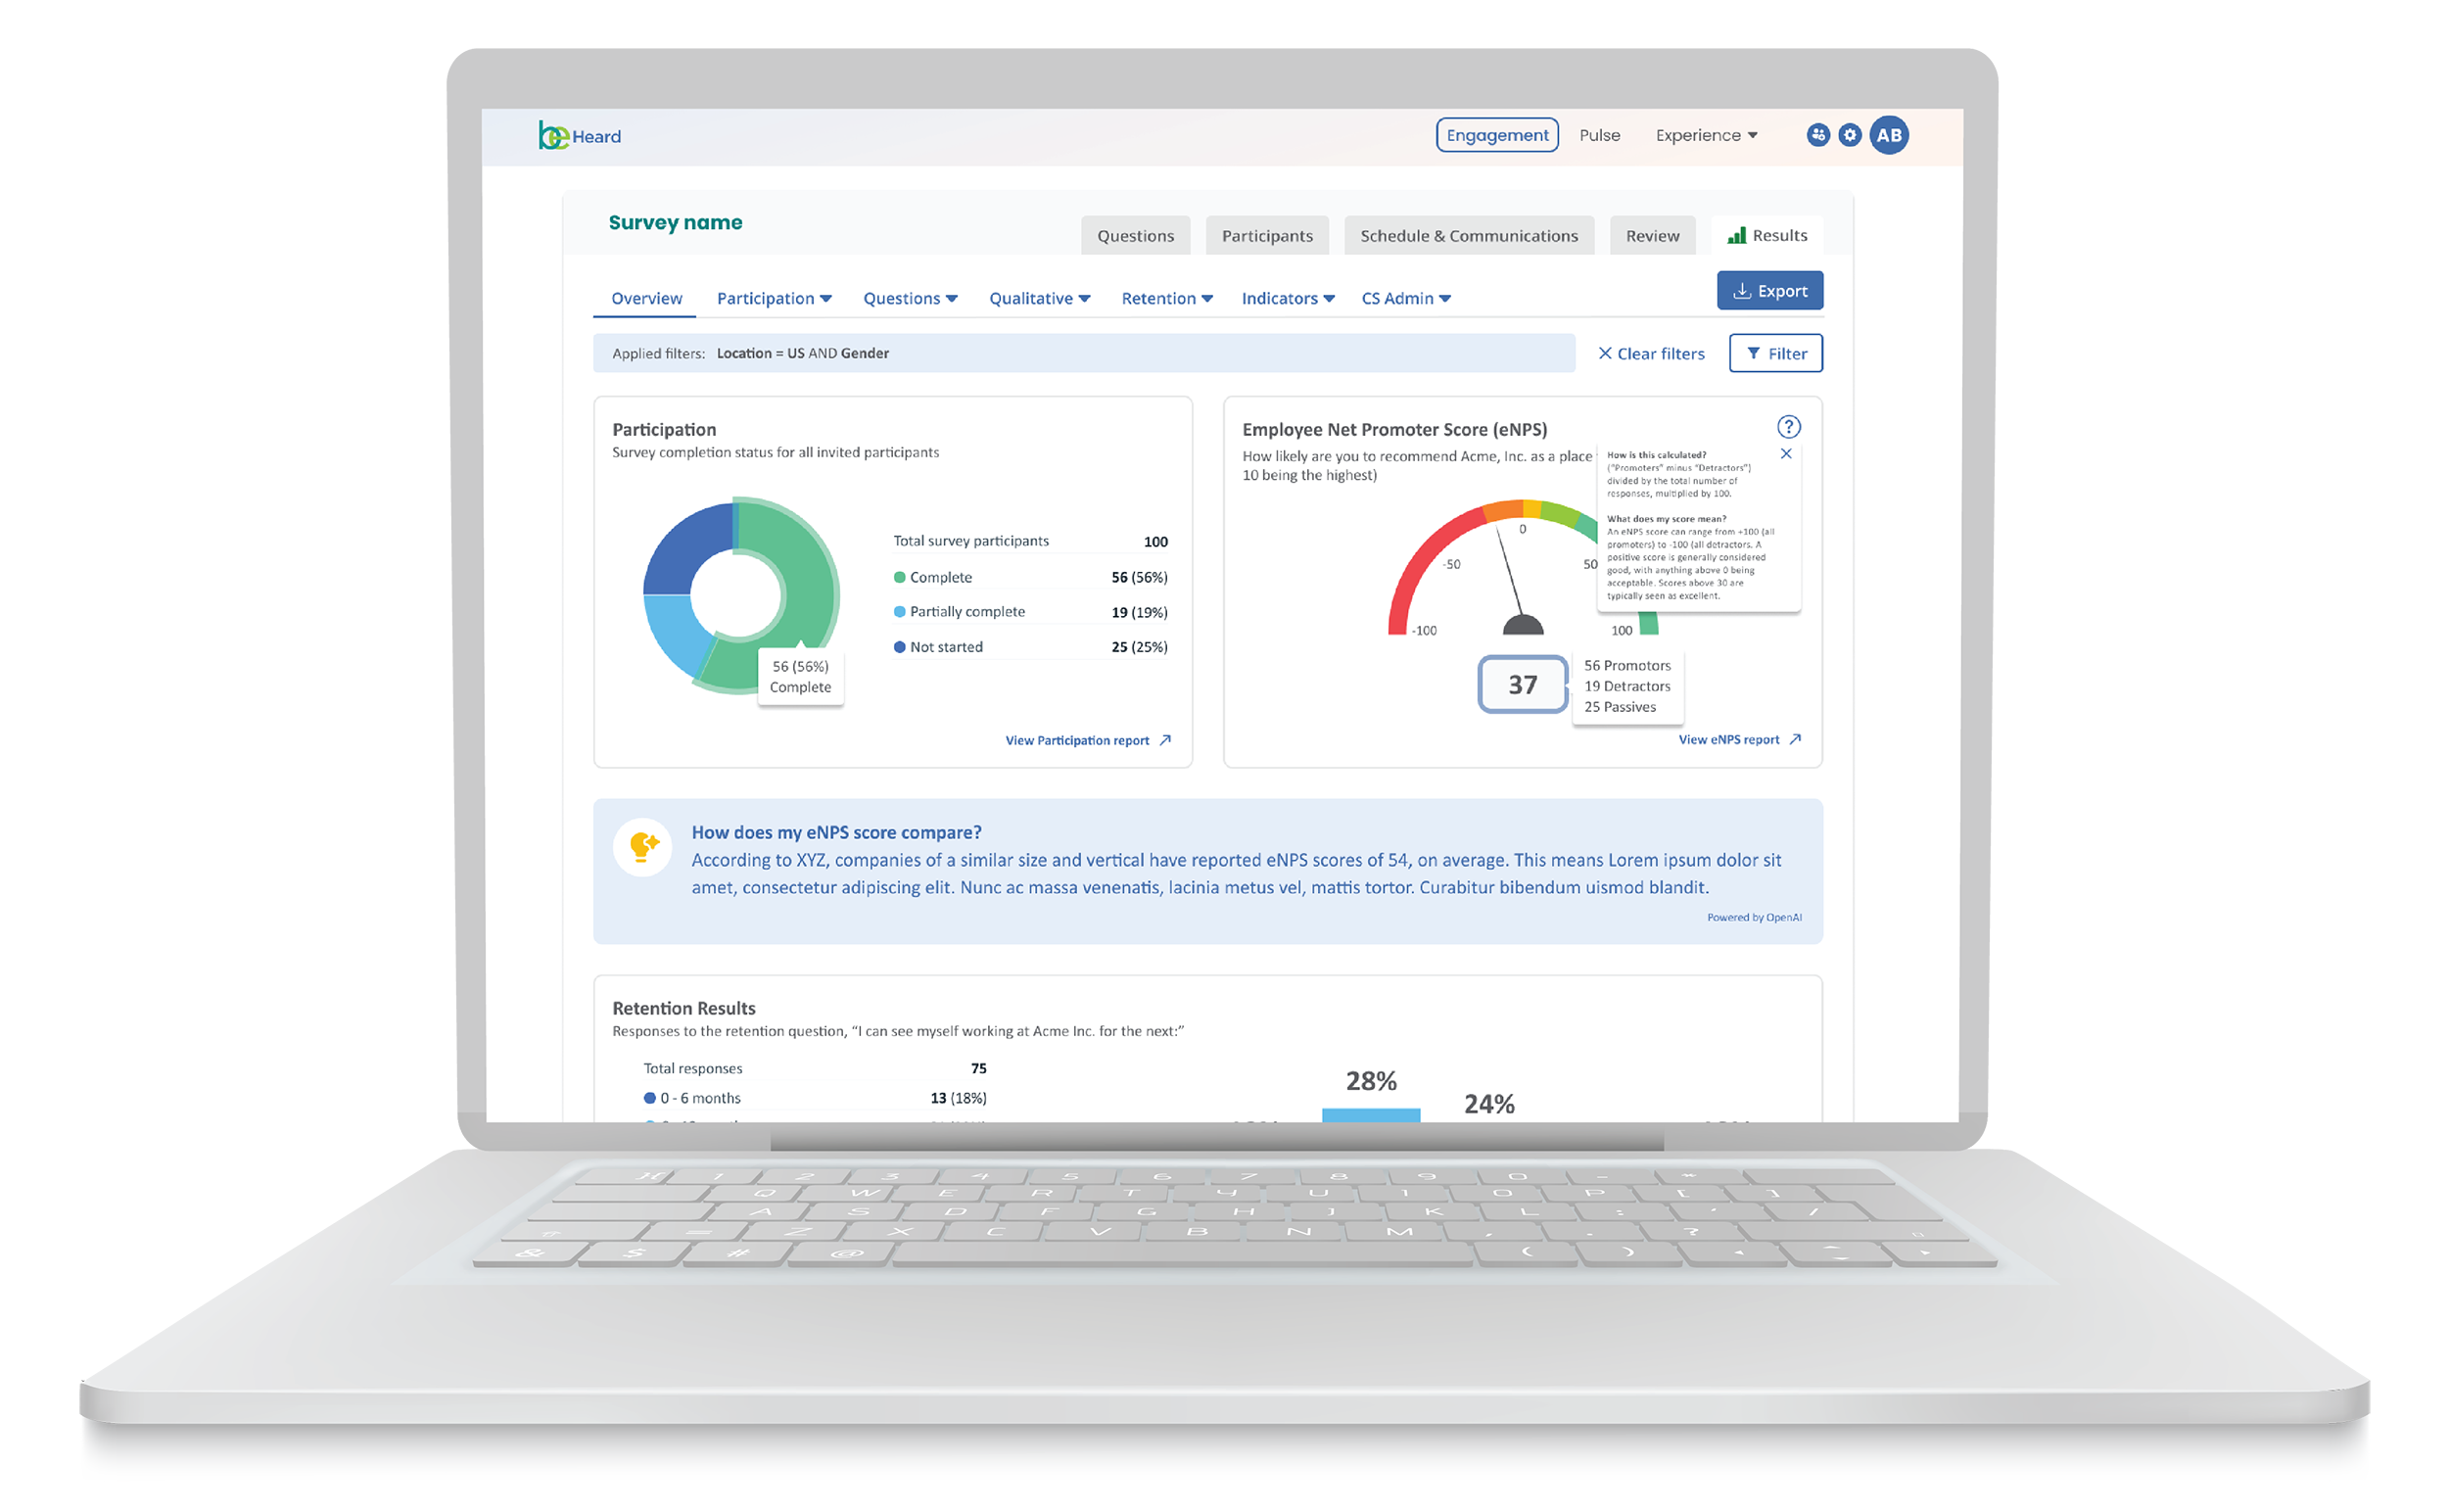
A customer's eNPS score is an at-a-glance indicator they can use for retention, recruiting, and overall engagement. To affect an eNPS score, we help customers break the score down into a series of influencers that can be viewed across customer categories like location, department, and managers. Based on that breakdown, strategies can be employed to positively change any organization.
Metrics are used to assess employee satisfaction and loyalty within an organization.
It ranges from -100 to 100 and measures how likely employees are to recommend their workplace to others.
Employees: Employees are critical participants in surveys as they provide feedback on various aspects of their work environment, including job satisfaction, culture, and work balance.
Consultants and Partners: External consultants may use employee survey data to assess team trends by category. Pairing sentiment data with productivity and profitability is a common step in achieving organization objectives.
HRIS Integrations
Multiple Integrations for a Seamless User Experience
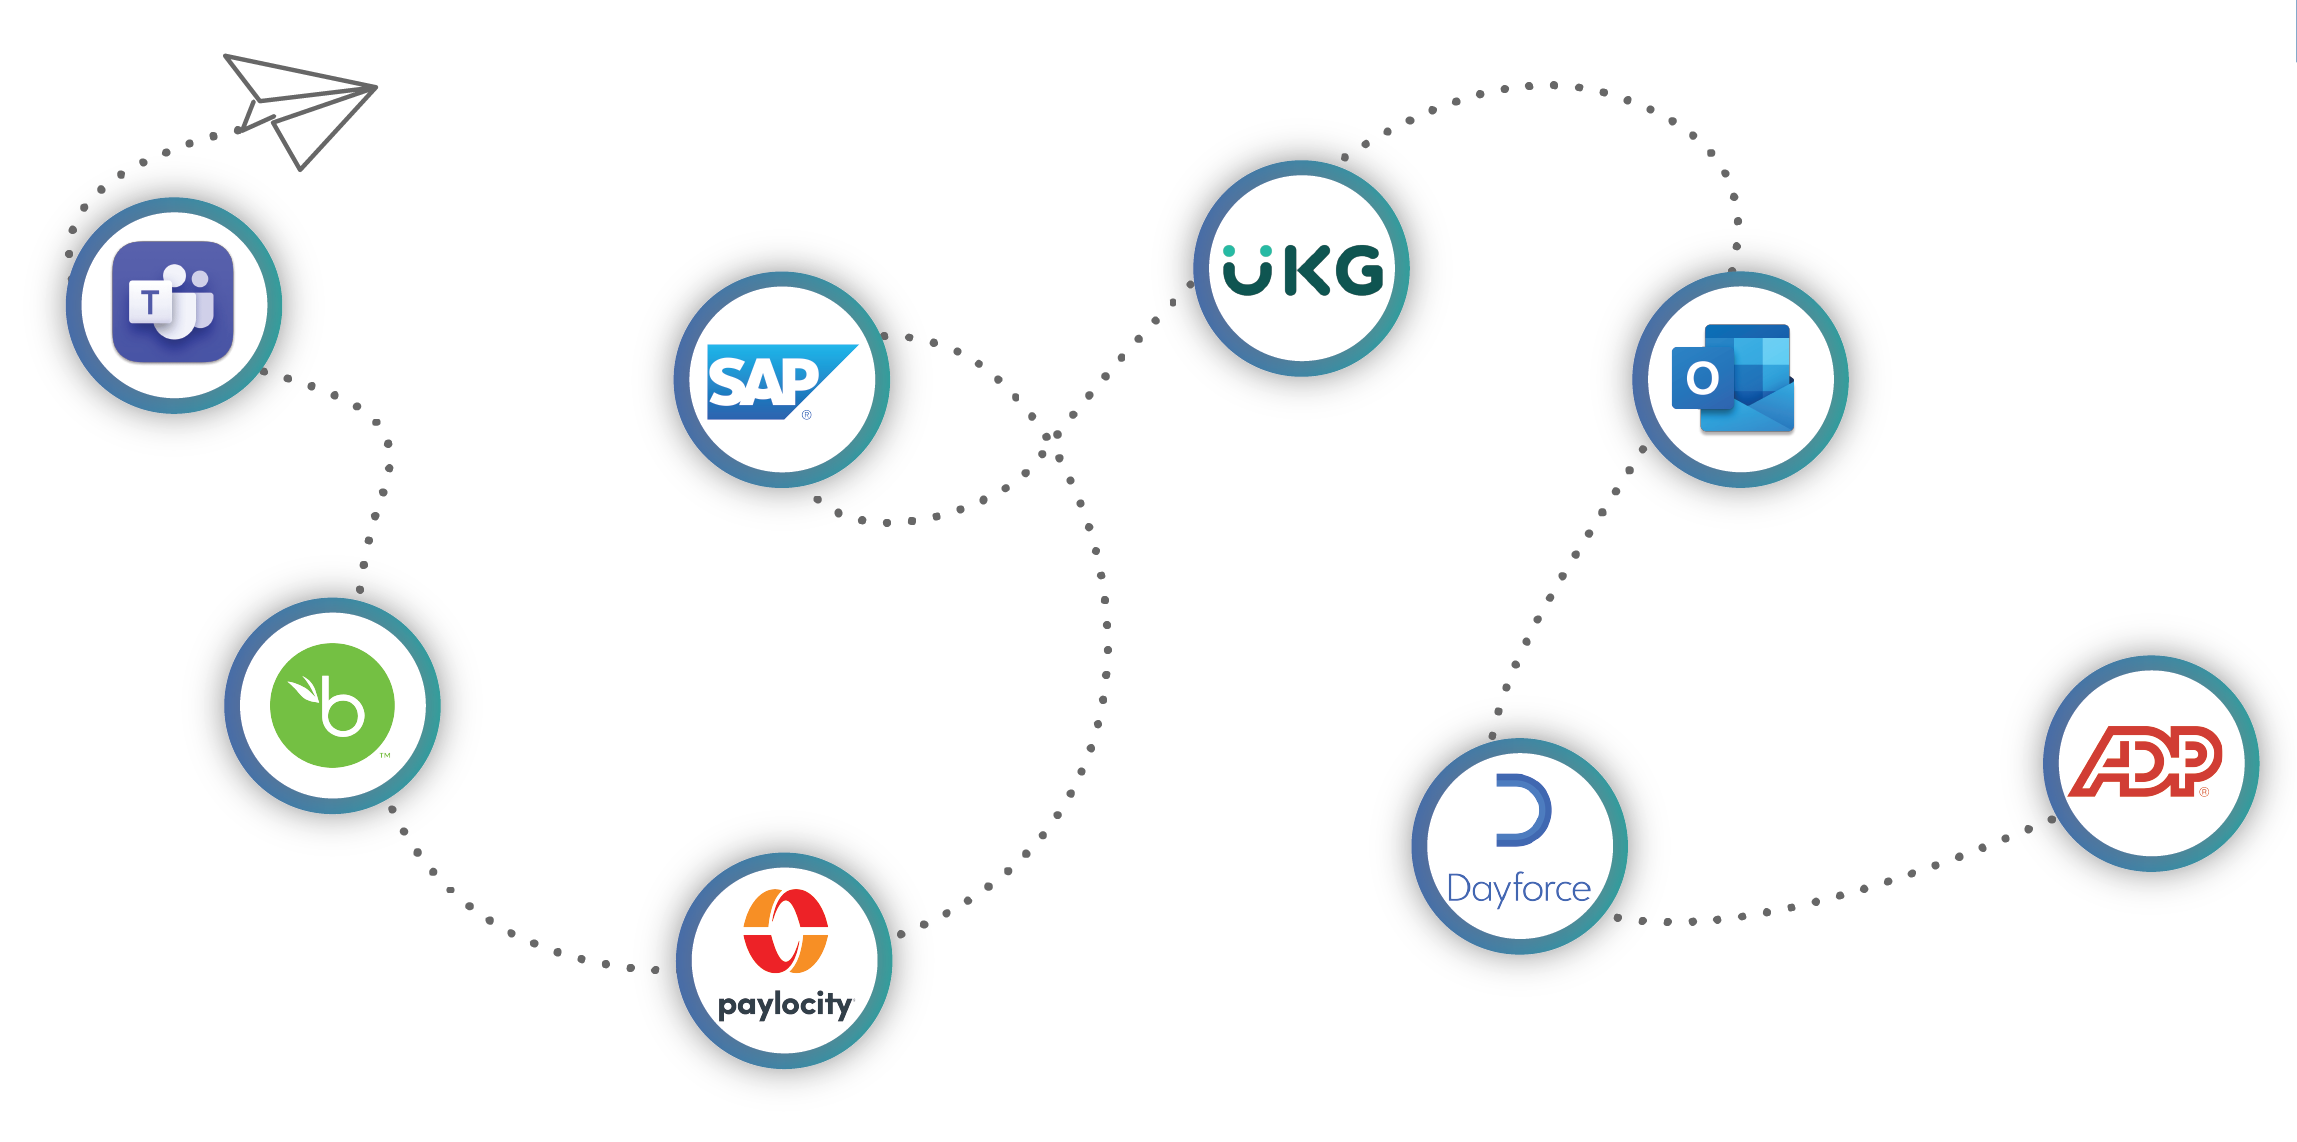
Be Heard integrates seamlessly with most HRIS systems on the market today. Our platform automatically maps to your organizational hierarchy, so you can easily uncover insights at every level of the company.

Not ready for everything all at once? No problem! We have subscription levels to meet you where you are today.
Why Terryberry?
100 +
Years in Employee Engagement
40,000 +
Global Clients
1,000,000 +
Recognition Moments Annually
150 +
Countries Served
Over 90%
NPS Score
4.9
Google Review Score

