March 6, 2024
Employee survey tools can provide invaluable insights into the hearts and minds of your workforce. They go beyond just collecting data—they create bridges that:
- Connect leadership with employee perspectives
- Empower employees to voice concerns, wants, and needs
- Foster a company culture of transparency, trust, and growth
- Start conversations for change
- Boost employee satisfaction and retention
However, not every employee survey tool can help you achieve your organization's goals. Each tool and platform has unique features and functionality that make it more (or less) appropriate for specific situations and use cases.
Fortunately, you don't have to sift through the hundreds of options and all their nitty-gritty details. We've done the hard work for you.
Below, we'll walk you through the best employee survey tools on the market in 2024 and how you can choose (and use) the right one for your business.

What Is an Employee Survey Tool?
An employee survey tool is a digital platform or software designed to collect employee feedback, opinions, and insights. These tools can range from simple questionnaire formats to sophisticated systems with complex analytics capabilities.
Employee survey tools streamline and enhance the collection of employee feedback. Without them, you'd be stuck with tedious manual processes, which lack the features you need for things like automation, insights, and analytics.
These tools take your surveying beyond just data collection. They help identify trends over time, measure employee sentiment, and uncover actions you can take to drive change. They empower your organization to make data-backed investments and decisions when it comes to employee engagement, satisfaction, and retention.
Do You Need a Survey Tool?
Survey tools help you maintain a pulse on employee satisfaction and engagement. Being in the know about your employees isn't really an optional choice—it's a mandatory part of running a successful and efficient business.
So, the question isn't if you should be collecting feedback from your employees. It's how.
If you're a business with 10 or fewer employees who feel safe and comfortable sharing thoughts and feelings, you might not need an employee survey tool. You can simply talk with your team members and ensure everyone has a voice in meetings and decision-making.
However, if you have 100 employees and it's impossible for everyone's voice to be heard—you need a survey tool. Not sure if you need an employee survey tool? Here are some other signs to consider:

- Lack of Insight into Employee Satisfaction: A clear understanding of employee satisfaction is essential for making informed decisions to improve workplace conditions. Employee survey tools offer a structured approach to gathering feedback on job satisfaction (or lack thereof), illuminating hidden issues, and guiding improvements.
- Difficulty in Identifying Areas for Improvement within Teams: Pinpointing areas for improvement in team dynamics can be tricky without direct feedback. Survey tools help you collect insights on team effectiveness, needs for training, process improvements, or leadership changes.
- Challenges in Measuring the Impact of Organizational Changes: Survey tools let you measure employee sentiment before, during, and after changes, providing a clear picture of their impact.
- The Role of Survey Tools in Strategic Decision-Making and Organizational Development: Employee survey tools offer insights into your work culture and employee engagement, giving you collective input to make the best decisions.
15 Best Employee Survey Tools in 2024
You can find hundreds of employee survey tools, but not every solution will be the right fit for your organization. We've narrowed your list by finding the 15 best employee survey tools in 2024.

1. Terryberry
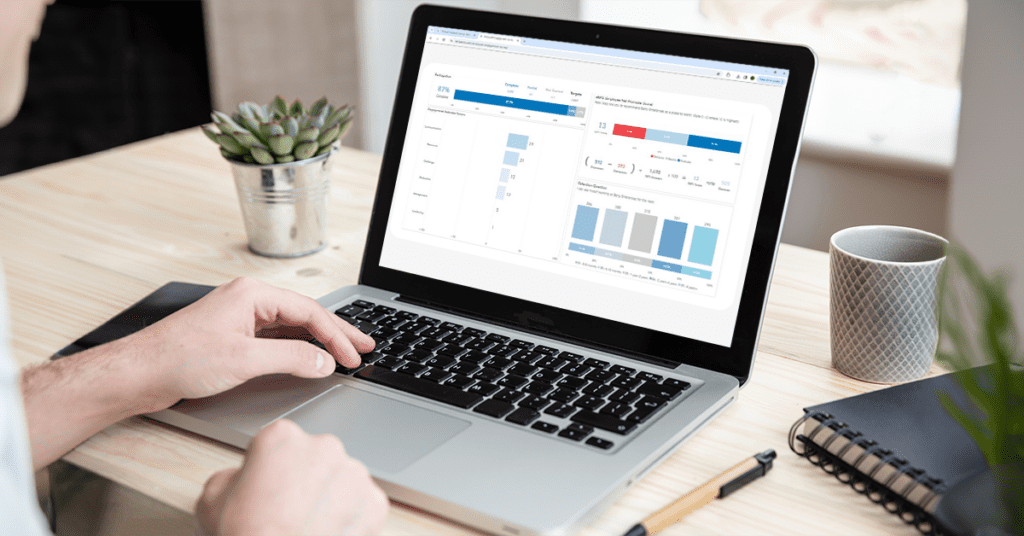
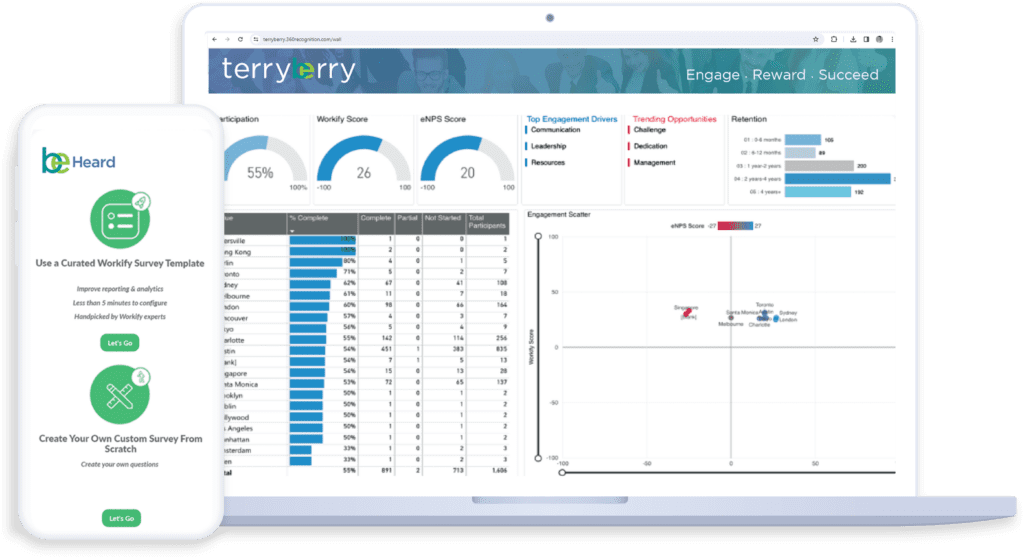
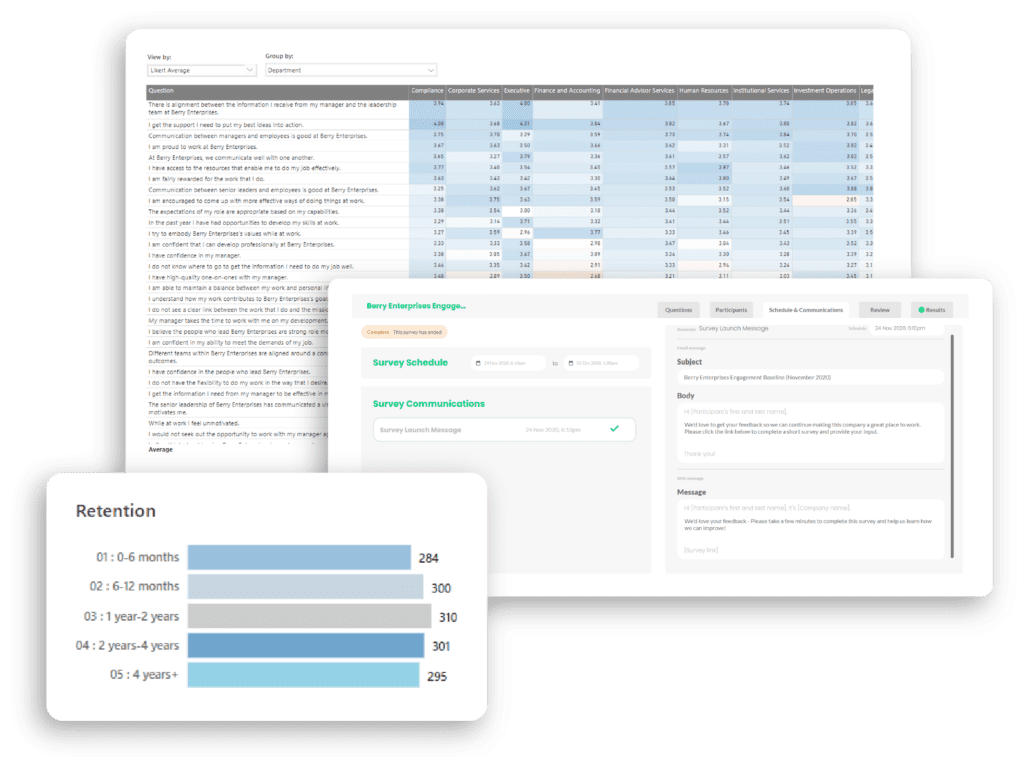
Terryberry's employee survey tool Be Heard, focuses on capturing real-time feedback and insights from your employees. Use our intuitive drag-and-drop survey builder to create questionnaires that align with your business's brand and design. It makes it easy to create and distribute surveys, and the dashboards provide easy-to-digest insights.
You have plenty of options for your surveys:
- Engagement Surveys: Offer a scientifically grounded baseline to measure employee engagement levels.
- Pulse Surveys: Enable real-time, actionable, anonymous surveys focused on topical areas, supporting data-driven decision-making to address immediate concerns or trends.
- Experience Surveys: Focus on measuring key moments throughout an employee's journey with the company, from onboarding to exit, to ensure every stage is acknowledged and optimized for a better workplace experience.
Beyond the surveying functionality, Terryberry offers a complete, end-to-end employee engagement platform. Whether you want to engage teams with employee recognition, rewards, wellness, or communication, we offer all the products and features you need in one comprehensive package.
Terryberry's survey tool is ideal for medium to large enterprises looking to deepen their understanding of engagement within a comprehensive employee recognition program. Its robust analytics and customizable survey capabilities make it perfect for organizations with complex hierarchies or diverse teams that require nuanced insights.
Key Features:
- Customizable Survey Templates: Offers a variety of templates that can be tailored to meet your organization's specific needs.
- Real-Time Feedback and Analytics Dashboard: Enables immediate access to survey results through a user-friendly dashboard for quick analysis and response to employee feedback.
- Anonymity Options: Ensures that employees can provide honest feedback without fear with anonymous surveys.
- Integration with HR and Productivity Tools: Seamlessly works with other HR systems and productivity tools, making incorporating survey insights into broader employee engagement and performance management strategies easy.
- Mobile Accessibility: Allows employees to complete surveys on their mobile devices to enhance participation rates and convenience.
- Advanced Data Analysis Features: Helps dig deeper into data, identify trends, and provide actionable insights for organizational improvement.
2. SurveyMonkey
SurveyMonkey is an online survey tool that offers design, distribution, and analysis features. It provides a user-friendly interface and support for a broad range of survey types (from engagement and satisfaction to training feedback and event planning). It provides quick insights through easy-to-use analytics and customizable survey templates.
SurveyMonkey's straightforward design features and scalable pricing make it an excellent choice for small startups who need a reliable, easy-to-use platform.
Key Features:
- Pre-designed Templates: Offers a wide range of customizable templates for various survey needs.
- Advanced Analytics and Reporting: Provides powerful analytics tools for analyzing survey data with options for filtering, cross-tabulation, and exporting results.
- Integration with Popular Tools and Platforms: Easily integrates with tools like Microsoft Teams, Slack, and various HR systems to facilitate communication and data sharing.
- Anonymous Response Options: Ensures privacy and encourages honest feedback by allowing anonymous survey responses.
3. SurveyLab
SurveyLab is a professional online employee survey software that offers advanced features for creating, distributing, and analyzing surveys. It prioritizes flexibility and ease of use and delivers strong analytical capabilities, real-time reporting, and support for multi-language surveys.
SurveyLab is well-suited for international businesses and large enterprises that operate across different countries and cultures. Its multi-language support and scalability make it ideal for organizations looking to implement a consistent survey strategy across a diverse workforce.
Key Features:
- Multi-Language Support: Enables surveys in multiple languages to cater to a global workforce.
- Advanced Survey Customization: Offers extensive options for survey customization to meet specific analysis needs.
- Real-Time Reporting and Analytics: Provides immediate access to survey results with comprehensive analytical tools for in-depth analysis.
- 360-Degree Feedback Capabilities: Supports 360-degree feedback surveys for a holistic view of employee performance.
- Integration with HR Systems: Integrates with existing HR systems for streamlined data management and insights.
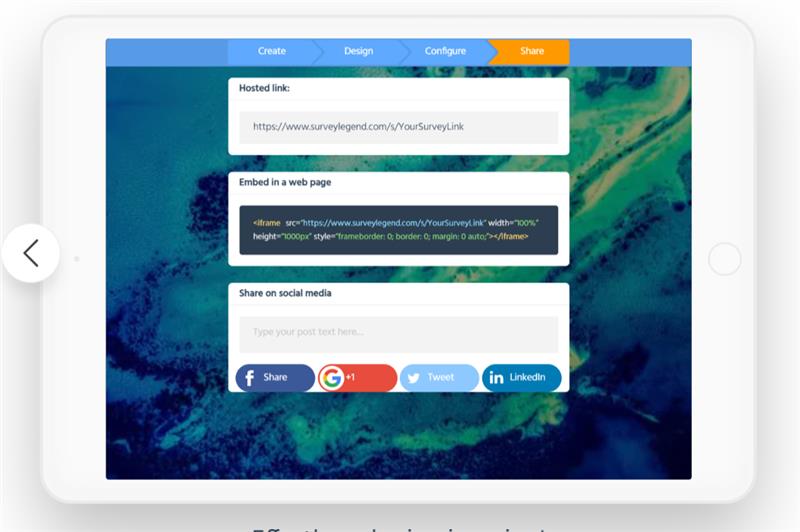
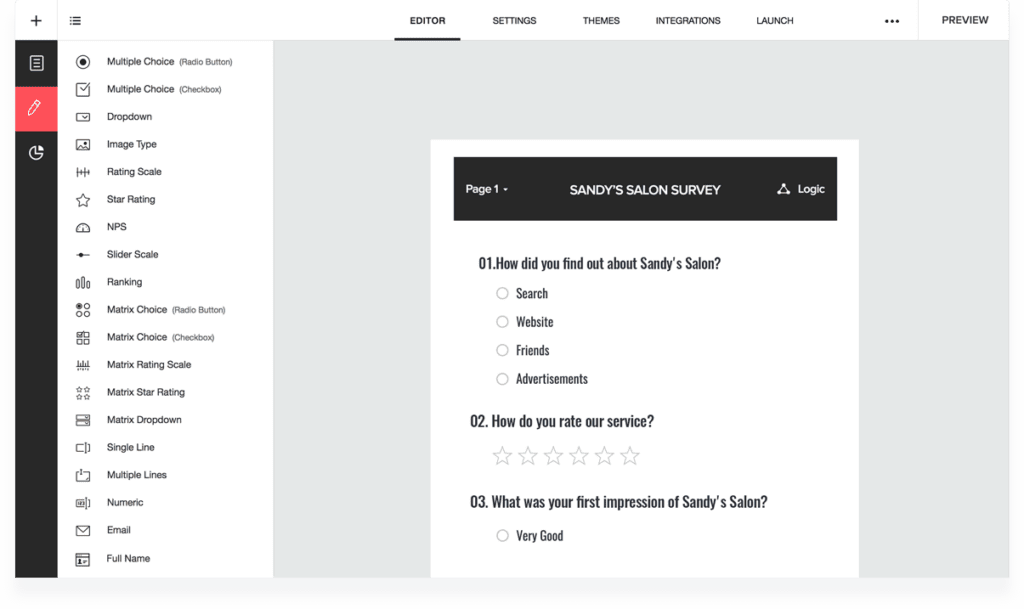
4. SurveyLegend
SurveyLegend offers an intuitive and visually appealing platform focused on engaging and mobile-friendly surveys. It's known for its ease of use, drag-and-drop interface, and rich media support, allowing businesses to create more interactive, pretty employee surveys.
Key Features:
- Drag-and-Drop Survey Builder: Simplifies the creation of custom surveys with an intuitive drag-and-drop interface.
- Rich Media Support: Enhances surveys with images, videos, and GIFs to improve engagement and response rates.
- Real-Time Analytics and Reporting: Offers instant access to survey results with tools for analyzing data and extracting actionable insights.
- Responsive Design: Ensures surveys are accessible and look great on any device, from desktops to smartphones.
- Advanced Branching and Logic: Allows for creating dynamic surveys that adapt based on respondent answers.
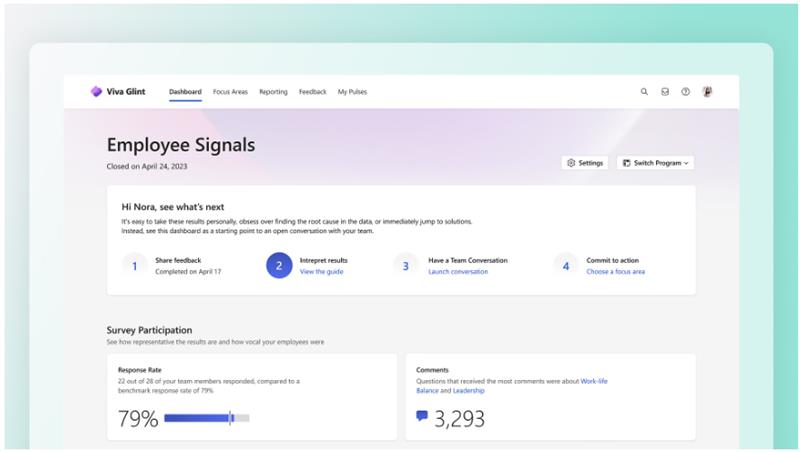
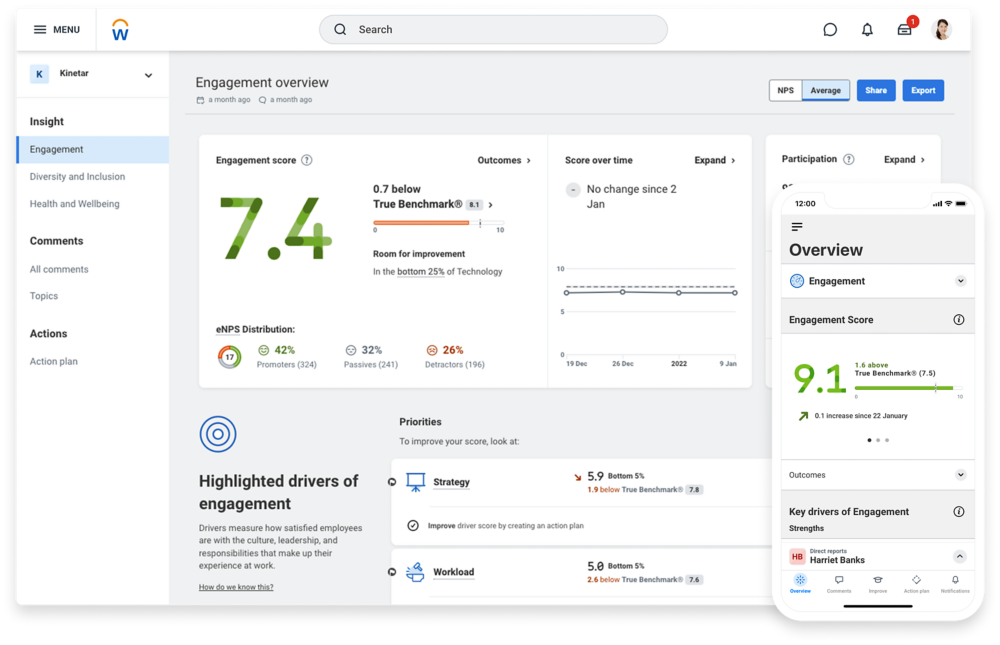
5. Glint
Glint offers a sophisticated platform for real-time employee engagement and feedback that leverages AI-driven insights to help your organization measure and improve employee satisfaction and work culture. It specializes in predictive analytics and actionable feedback, assisting leaders to identify (and remediate) areas of concern before they become problematic.
Key Features:
- AI-Driven Insights: Utilizes artificial intelligence to analyze survey data, offering predictive insights that help organizations anticipate and address potential engagement issues.
- Customizable Surveys: Features a range of customizable survey templates designed to capture the nuances of employee sentiment and engagement.
- Actionable Reporting: Delivers clear, actionable reports that guide leaders in making informed decisions to improve the work environment and culture.
- Employee Development Tools: Offers personal and team development resources, helping employees grow within the organization based on feedback.
6. Typeform
Typeform creates a unique survey experience emphasizing user-friendly design and conversational interfaces. Using more visually appealing forms, it aims to make surveys more enjoyable for employees. It's ideal for creating employee engagement surveys, feedback forms, and HR questionnaires. Creative industries or businesses that prioritize pretty surveys (over features and functionality) will be a good fit for Typeform.
Key Features:
- Conversational Forms: Uses a clever, conversational approach to surveys to make the process feel more like a dialogue and less like a questionnaire.
- Customizable Design Options: Offers extensive customization options to allow organizations to align the look and feel of their surveys with their brand identity.
- Logic Jumps and Branching: Supports advanced survey logic, enabling personalized survey paths based on respondent answers for more relevant and engaging experiences.
- Responsive Design: Ensures surveys are beautifully rendered across devices to boost accessibility and participation.
7. Culture Amp
Culture Amp focuses on improving company culture through its science-backed survey methodologies and intense focus on actionable insights. Its user-friendly interface and customizable surveys make it an excellent tool for companies of all sizes looking to understand and improve their workplace culture deeply.
Key Features:
- Science-Based Survey Templates: Leverages organizational psychology to offer surveys that provide actionable insights into employee engagement and culture.
- Benchmarking Against Industry Standards: Allows organizations to compare their results with relevant industry benchmarks by offering context to their data and highlighting areas for competitive improvement.
- Focused Insights on Diversity and Inclusion: Offers specialized surveys to gauge the effectiveness of diversity and inclusion initiatives.
- Powerful Analytics Dashboard: Provides comprehensive analytics that helps identify trends, strengths, and areas for improvement across different levels and departments.
- Continuous Listening and Feedback Channels: Supports ongoing employee feedback beyond annual surveys (including pulse surveys and continuous feedback).

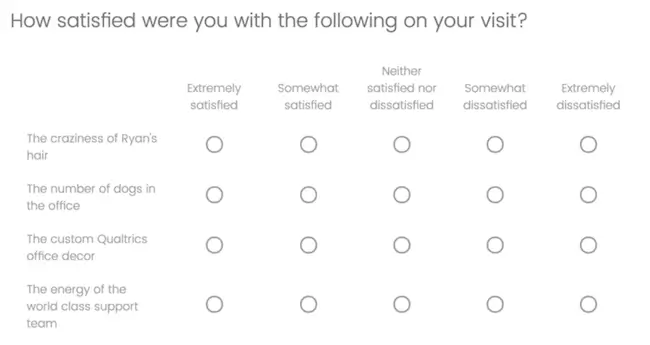
8. Qualtrics
Qualtrics leverages advanced data analytics and AI to give your organization deep insights into employee engagement, satisfaction, and productivity. Its flexible platform allows businesses of any size to build customized surveys that fit their unique situation and budgetary constraints.
Key Features:
- Robust Customization Options: Enables the creation of custom surveys that target specific organizational goals to ensure every question contributes valuable insights.
- Predictive Intelligence and Analytics: Uses AI and predictive analytics to analyze responses and predict future employee behavior and satisfaction levels.
- Real-Time Feedback System: Offers instant access to survey responses to help you quickly address concerns and capitalize on positive feedback.
- Multi-Channel Distribution: Distribute surveys across email, SMS, and web platforms.
- Employee Lifecycle Feedback: Captures insights at every stage of an employee's career to highlight improvement areas throughout the employee journey.
9. Empuls
Empuls is an integrated employee engagement survey platform that combines employee feedback with recognition and rewards. It's designed to boost workforce engagement, foster a strong sense of community, and offer actionable insights for organizational improvement.
Empuls is well-suited for small to medium-sized businesses looking for an all-in-one solution to upgrade employee engagement. Its cost-effective pricing model and flexible features cater to organizations that need to scale their engagement strategies without significant upfront investment.
Key Features:
- Integrated Recognition and Rewards: Combines surveys with a recognition system to offer a holistic approach to employee engagement.
- Customizable Engagement Surveys: Offers flexible survey tools tailored to organizational needs.
- Real-Time Analytics Dashboard: Immediate access to data and insights for quick decision-making.
- Social Intranet Feature: Promotes a connected and engaged workforce through enhanced communication and collaboration.
- Pulse Surveys and eNPS: Enables ongoing measurement of employee sentiment and loyalty.
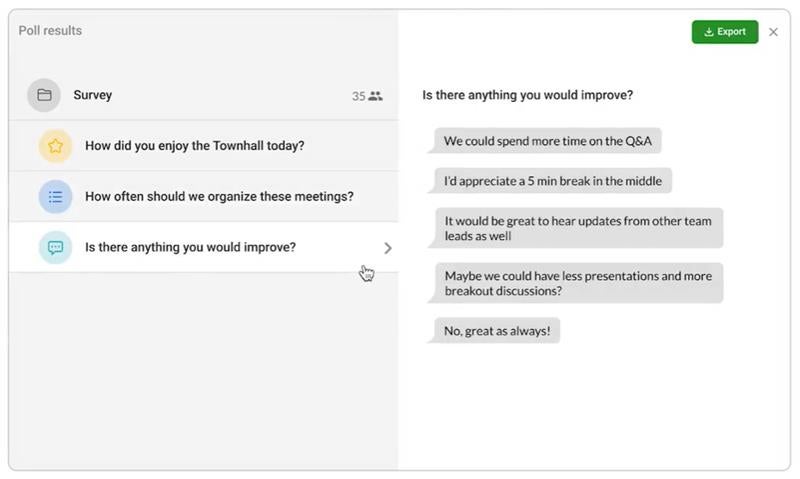
10. Slido
Slido is an interactive employee survey software that enhances communication and engagement in meetings, events, and conferences through live polls, Q&A sessions, and surveys. Its focus on real-time interaction makes it an excellent tool for gathering instant feedback and opening the door for dialogue between employees and leadership.
Slido integrates with tools like Zoom and Microsoft Teams to make it a more seamless part of your video conferencing meetings. It's great for companies that want to incorporate real-time feedback and questions into dynamic conversations.
Key Features:
- Live Polling and Surveys: Enables real-time engagement with instant polls and surveys.
- Interactive Q&A Sessions: Facilitates open and inclusive discussions by allowing employees to ask questions anonymously and vote on questions they want addressed.
- Easy Integration with Presentation and Video Conferencing Tools: Works with popular platforms like PowerPoint, Google Slides, Zoom, and Microsoft Teams to boost the interactivity of virtual meetings.
- Analytics and Reporting: Offers insights into participation rates and feedback trends.
- Customizable Branding: Allows organizations to customize polls and surveys with their branding to create a consistent and professional look.
11. JotForm
JotForm is an online form builder for creating surveys, feedback forms, and questionnaires. It simplifies designing and deploying surveys with its drag-and-drop interface and a vast library of templates. It's a great solution for companies that don't have access to extensive technical resources.
Key Features:
- Drag-and-Drop Form Builder: Offers an intuitive interface for creating custom surveys without needing coding skills.
- Wide Range of Templates: Provides access to a vast library of form templates that can be customized to fit any survey requirement.
- Advanced Form Fields: Supports various form fields (including text boxes, dropdowns, sliders, and more) to collect diverse feedback types.
- Integration Capabilities: Integrates with business tools and platforms to streamline workflows.
12. SurveySparrow
SurveySparrow turns the traditional survey process into engaging conversations. With a dual interface that alternates between chat-like surveys and traditional forms, it offers a unique and interactive way to collect employee feedback. It supports employee engagement, pulse surveys, 360-degree feedback, and more feedback types.
Key Features:
- Dual Interface Design: Offers both chat-like and form-based surveys that cater to different preferences and ensure a higher engagement rate.
- Customizable Templates: Provides a variety of customizable survey templates to launch targeted feedback initiatives quickly.
- Automated Pulse Surveys: Allows you to schedule regular pulse surveys to monitor and measure employee engagement levels continuously.
- 360-Degree Feedback: Supports comprehensive 360-degree feedback collection to enable a well-rounded evaluation of employee performance and development needs.
13. Peakon
Peakon (a Workday company) measures and improves employee engagement through advanced data analysis, personalized feedback loops, and predictive analytics. It takes a more data-driven approach to foster a culture of listening and continuous improvement within organizations. It's better suited for medium to large enterprises serious about leveraging employee feedback for strategic decision-making.
Key Features:
- Real-Time Analytics: Provides immediate insights into employee engagement levels to allow for timely interventions and actions.
- Personalized Feedback Loops: Ensures each employee receives relevant questions and feedback opportunities to improve the relevance and quality of data collected.
- Predictive Analytics: Uses advanced algorithms to predict potential issues and opportunities within employee engagement.
- Benchmarks Against Industry Standards: Offers access to extensive benchmarking data to help your organization compare its performance against peers and industry averages.
- Actionable Insights: Delivers clear, actionable insights that can be directly applied to improve engagement strategies and workplace culture.
14. BetterUp
BetterUp purchased Impraise in 2021, a platform for ongoing feedback, continuous learning, and professional development. It uses real-time feedback, goal setting, and personalized coaching tools to provide employees (and employers) with actionable advice. It streamlines the performance review process and evolves surveys from data collection to action.
Key Features:
- Continuous Feedback and Recognition: Enables employees and managers to give and receive real-time feedback.
- Performance Reviews and Goal Management: Simplifies the performance review process with customizable templates and facilitates individual and team goal-setting and tracking.
- Engagement Surveys: Offers tools to measure employee engagement and satisfaction, providing insights into the organization's overall health.
- Personalized Coaching and Development: Supports employee growth with customized coaching plans and development tools based on feedback and performance data.
15. Zoho Survey
Zoho Survey is an excellent tool for businesses that are already using Zoho's suite of applications. It integrates seamlessly with Zoho's other products, making it easy to transfer data across platforms. The survey tool provides features like branching logic, customizable themes, and real-time analytics to create a robust feedback system.
Key Features:
- Integration with Zoho Ecosystem: Seamlessly integrates with other Zoho applications, such as Zoho CRM and Zoho Campaigns, for comprehensive data management and analysis.
- Extensive Customization Options: Offers various question types and customizable themes to create engaging and relevant surveys.
- Branching and Logic: Implements advanced survey logic for personalized survey experiences based on respondent answers.
- Multi-Language Support: Allows surveys to be created in multiple languages to cater to a diverse workforce and expand the reach of surveys.
Factors to Consider When Choosing an Employee Engagement Platform
With so many options to choose from, it can be hard to find the right one for your business. While we can't make that decision for you, we've highlighted some of the criteria you should look at when choosing the best employee survey tool.
Some companies get caught up chasing features or solely focusing on price points, but there's more to consider:
- Ease of Use: The platform should have a user-friendly interface that is easy for administrators and employees to navigate. A straightforward and intuitive design promotes higher participation rates and ensures that both setting up surveys and responding to them is hassle-free.
- Customization: Look for a platform that offers extensive customization options. You should be able to tailor surveys and feedback mechanisms to meet your organization's needs and brand. Customization can range from branding the surveys with your company logo to creating unique question sets that address particular areas of interest.
- Scalability: Choose a solution that can accommodate the increasing number of employees without compromising performance or functionality. Scalability ensures that the platform remains a valuable tool for your organization, regardless of size.
- Integration: The best employee engagement platforms offer seamless integration with your organization's existing HR Information Systems (HRIS) and other software tools. Integration capabilities simplify data management, enhance workflow efficiency, and enable a more comprehensive analysis of employee engagement data.
- Data Security: Ensure the platform complies with privacy regulations such as GDPR and has robust security measures to safeguard sensitive information. This includes secure data storage, encrypted data transmission, and regular security audits.
- Support and Resources: Look for providers that offer responsive customer service, comprehensive onboarding sessions, and a wealth of resources to help you get the most out of the platform.

Best Practices to Create Better Employee Engagement Surveys
Choosing the right employee survey tool is important, but that's just the beginning. Next, you'll need to design surveys with the right survey questions, types, and frequency to engage your employees and gather data. Here's how to make that happen:
Keep It Short and Sweet
A short and well-structured survey respects employees' time and increases the likelihood of higher participation. Lengthy surveys can lead to survey fatigue, resulting in lower completion rates and potentially skewed data. Focus on the essential questions you need answered—delete the rest.
Doing more frequent, hyper-focused surveys is better than super-long, erratic ones.
Be Clear and Specific
Each question should be straightforward and designed to prompt specific information about aspects of the employee experience. If it's too confusing, it'll skew your data or potentially discourage employees from finishing the survey.
Test your surveys with leadership or a sample group before you send them to your entire workforce.
RELATED: 83 Employee Survey Questions About Culture to Use in Your Next Employee Survey
Provide Anonymity
When employees believe their responses are anonymous, they are more likely to share their genuine thoughts and feelings. Let employees know that their identities will be protected and feedback can't be traced back to individuals. This anonymity increases participation rates and also enriches the quality of insights gathered.
Schedule Regular Surveys
Conduct surveys at regular intervals to establish a predictable pattern for feedback. This signals to employees that their input is valued consistently over time and gives them a trusted channel to report or communicate on with a regular cadence.
Regularly scheduled surveys help monitor changes in employee sentiment, track the impact of implemented changes, and identify new areas of concern. Plus, this consistent approach demonstrates an ongoing commitment to listening and responding to employee needs.

Act on Feedback
Don't just gather feedback—do something with it. When employees see that their feedback leads to concrete changes, it reinforces their sense of value and belonging within the company. Share specific examples of how employee suggestions have been implemented, whether it's adjusting policies, enhancing workplace amenities, or addressing leadership practices.
This transparency validates the survey process and motivates ongoing participation and engagement.
Follow Up
Follow up after surveys by sharing key findings and outlining how you plan to take action. This follow-up can take various forms, such as company-wide meetings, reports, or updates in internal newsletters. Keep employees informed about the steps being taken, and acknowledge where you might be falling short (or excelling).
Drive Change with Terryberry
While an employee survey tool can be a game-changer for your company, it doesn't do much as a standalone solution—you need a comprehensive platform to collect data, take action, and drive change.
That's where Terryberry comes in—offering a cutting-edge employee survey platform designed to capture the pulse of your organization and move your engagement strategies forward.
Terryberry is the only end-to-end employee engagement platform, offering everything you need to engage your workforce with surveys, communication, recognition, rewards, and wellness. It's one platform with oh-so-many solutions.
See for yourself. Schedule a demo with our team to learn how Terryberry can power your feedback collection, analytics, insights, and engagement plan.